
Connect RocketReach to Microsoft Copilot Studio
Bring RocketReach's people and company data into Microsoft Copilot by adding the RocketReach MCP server as a tool on a Copilot Studio agent.
Requirements
- A RocketReach account (free or paid plan)
- Access to Microsoft Copilot Studio, with permission to create agents in a Power Platform environment
Admins: Power Platform data policies also apply to MCP tools. If your organization blocks custom connectors, RocketReach shows as disabled until an admin allows custom connectors in the environment.
Steps to Connect
1. Open your agent's Tools
Go to copilotstudio.microsoft.com, open Agents, and open the agent you want to use RocketReach with. You can also select New agent to create one.
Then open the Tools tab and select Add a tool.

2. Add a new MCP server
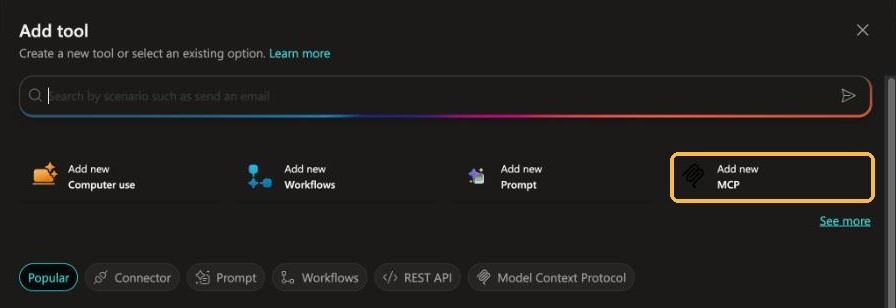
In the Add tool window, select Add new MCP.
In some versions of Copilot Studio, this is New tool → Model Context Protocol.
3. Enter the RocketReach server details
Fill in the form with the following details, then select Create:
| Field | Value |
|---|---|
| Server name | RocketReach |
| Server description | Search RocketReach for people and companies, and look up verified emails and phone numbers. |
| Server URL | https://mcp.rocketreach.co/mcp |
| Authentication | OAuth 2.0 |
| Type | Dynamic discovery |
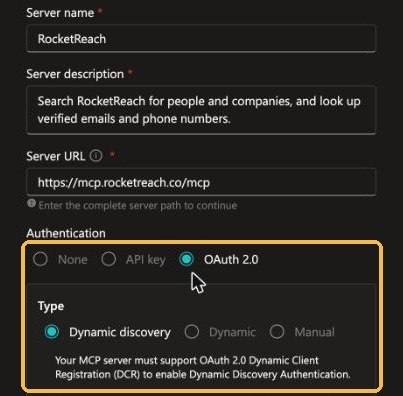
Use Dynamic discovery. RocketReach registers Copilot Studio for you, so you don't need a client ID or secret. Don't choose Dynamic or Manual.
4. Connect your RocketReach account
Next to Connection, open the menu and select Create new connection.
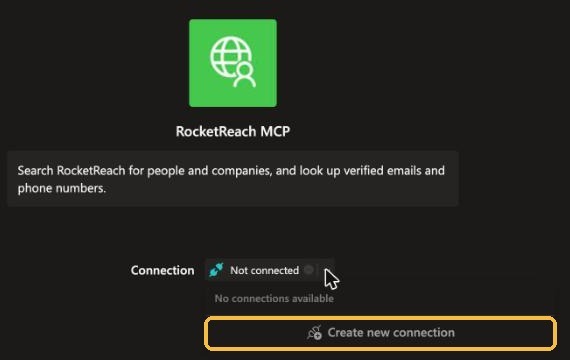
Copilot Studio shows the server name you entered in step 3. Select Create.
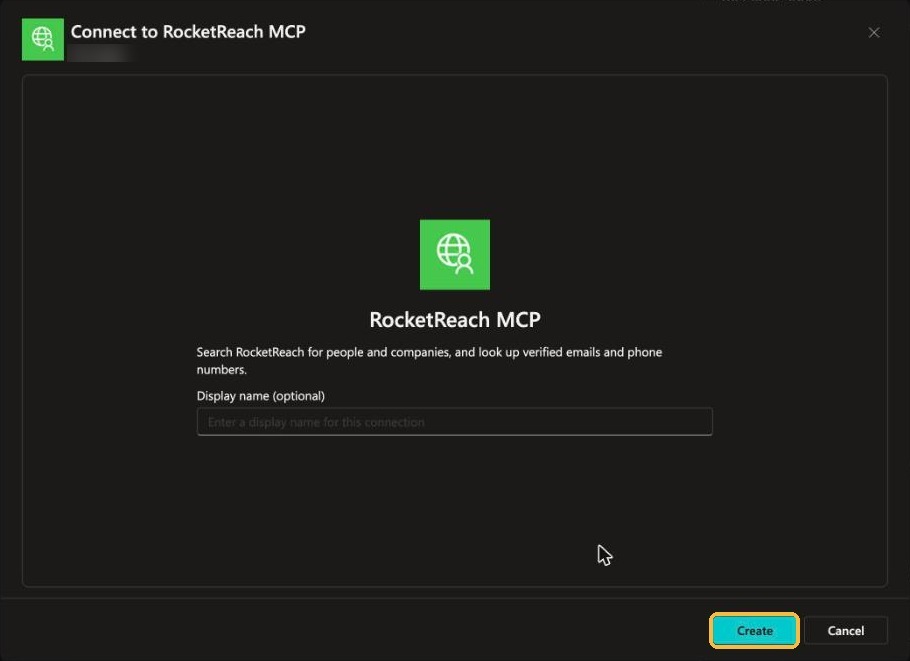
A RocketReach window opens. Sign in if asked, check that the email shown is the RocketReach account you want to use, and select Allow Access.
5. Add the tool to your agent
When the connection is set up, select Add. RocketReach now shows on the agent's Tools tab.
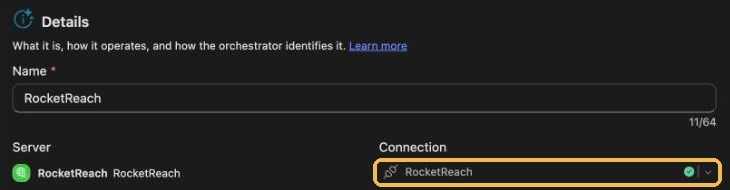
Open it to check that the connection has a green check:
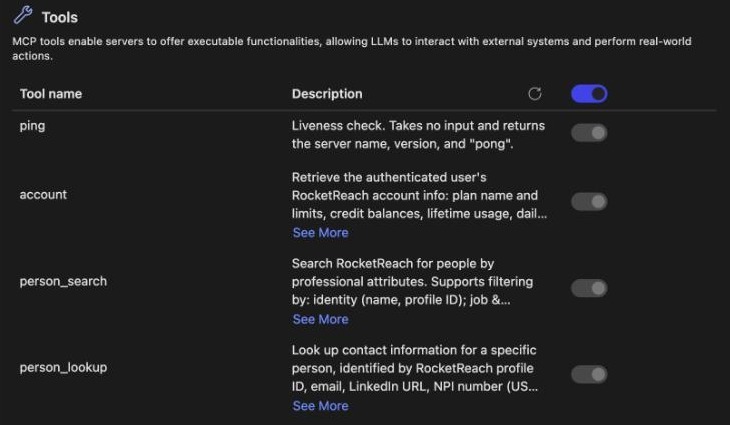
Scroll down to see the RocketReach tools:
6. Test the connection
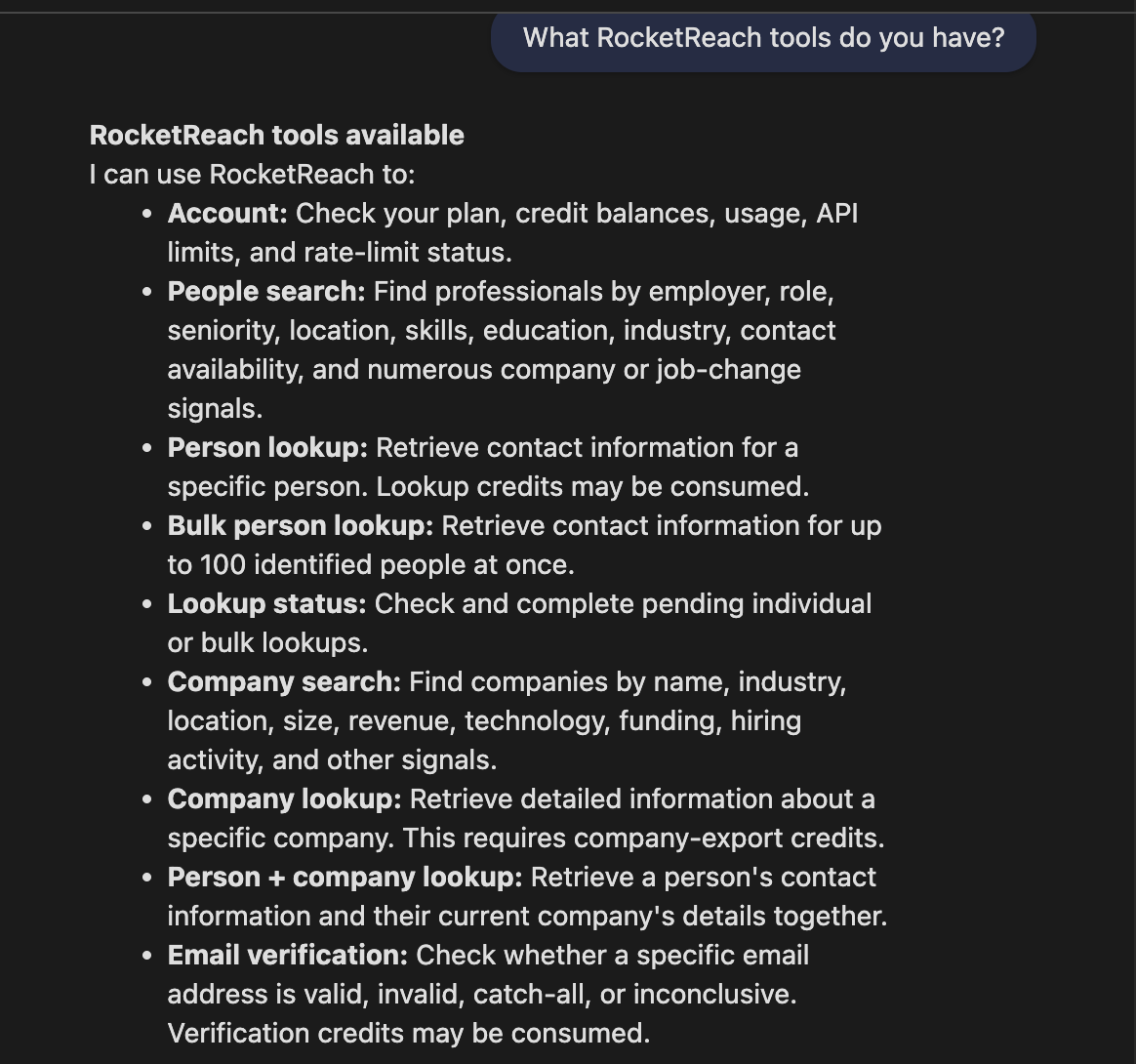
In the Test your agent pane, ask:
What RocketReach tools do you have?
If the agent lists the RocketReach tools, you're all set.
Use It in Microsoft 365 Copilot and Teams (Optional)
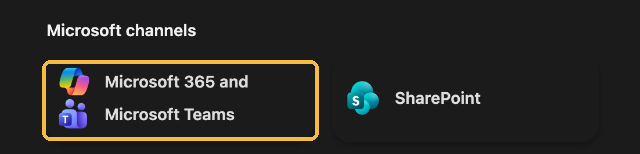
To use the agent outside Copilot Studio, select Publish, then open the Channels tab and select Microsoft 365 and Microsoft Teams. Follow Microsoft's steps to make the agent available to your team.
Example Prompts
Try these once you're connected. Contact lookups use your RocketReach credits.
- Find VPs of Sales at SaaS companies in Boston with 200 to 1,000 employees.
- Get the verified email for the CFO of [company].
- List mid-size logistics companies in Atlanta and add industry and employee count.
Troubleshooting
| Problem | Solution |
|---|---|
| "A custom connector with display name 'RocketReach' already exists in the environment" | Someone in your environment already added RocketReach. Use a different server name, such as RocketReach MCP, or reuse the existing RocketReach tool. |
| "Failed to login. Could not discover authorization server metadata." | Check that the server URL is exactly https://mcp.rocketreach.co/mcp and the type is Dynamic discovery. Copilot Studio connections have worked since November 3, 2026. If you tried before then, create the connection again. |
| "GetDynamicClientRegistrationResultAsync failed" | The OAuth type is set to Dynamic. Add the tool again with Dynamic discovery. |
| The RocketReach sign-in window doesn't open | Allow pop-ups for copilotstudio.microsoft.com and try again. |
| The tool is disabled, or Publish isn't available | A Power Platform data policy is blocking custom connectors. Ask your admin to allow them in this environment. |
For specific error messages, see the MCP Errors reference.